
What do you use to implement a grid in iOS? Simple answer. UICollectionViews. Others have called UICollectionView “the new UITableView”. UICollectionViews have been around since 2012. It was release with iOS6 and many developers rejoiced with it’s introduction. UICollectionViews allows developers to make any layout possibile. Layouts can include multi-column grids, tiled layouts, circular layouts or cover flow layouts. It’s a very versitle collection of classes that can order a collection of data items.
UICollectionView are data-source and delegate-driven just like UITableView. It doesn’t know about actual content. It is a dumb container ready for a collection of subviews like UICollectionViewCell.
I don’t intend to provide a step by step tutorial on how to setup a multi-column grid layout. There are quite a few tutorials that you can find with a simple google search. What follows is a small description on the type of grid layout I decided to go with for WikiBand. WikiBand is small hobby project that is slowly taking a life of it’s own. You can find out more information with my previous blog post Transforming Designs to Real Pixels.
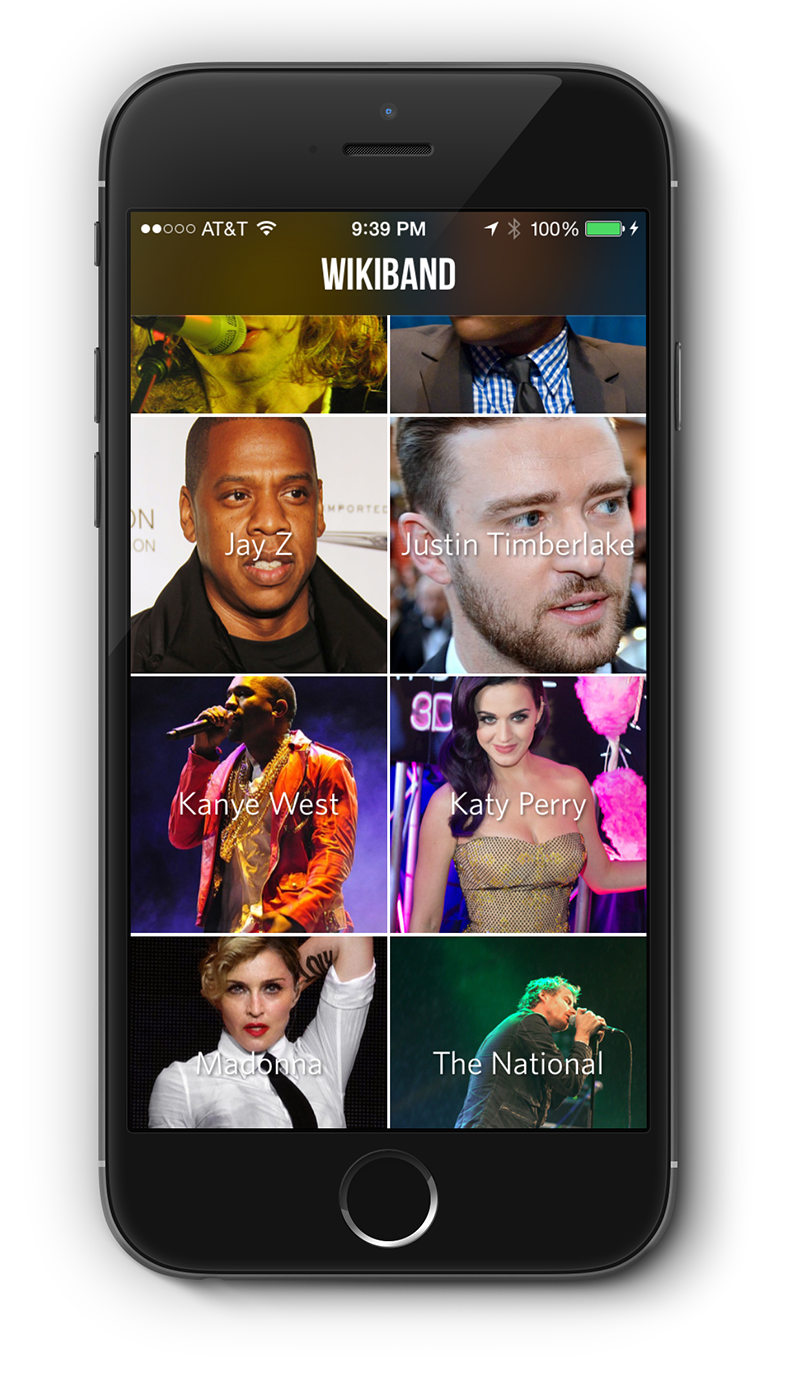
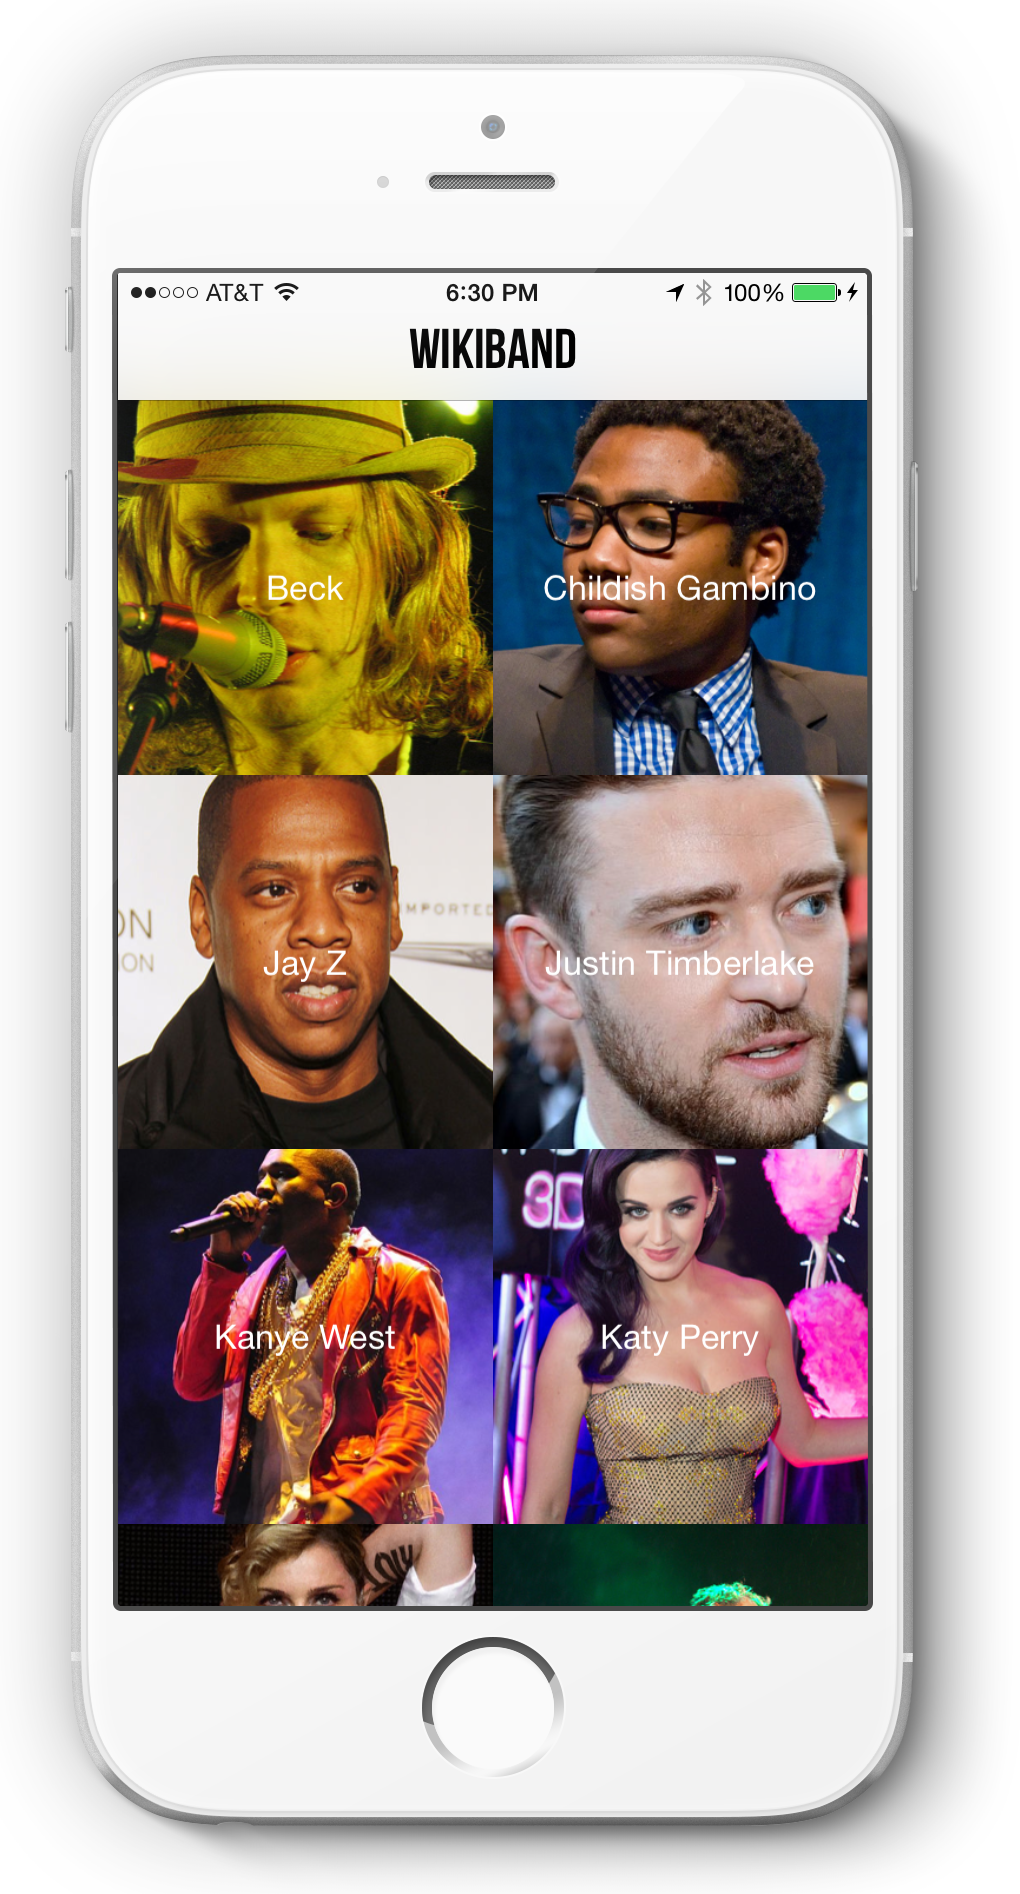
When you launch WikiBand for the first time, the app will collect a list of albums currently purchased from a user’s iTunes library. It ultimately came down to two simple layouts. Should I use a three column layout or a more readable two column layout. Below are two versions of WikiBand that use the two column approach. One with white borders for each tile. And a second version with no borders.
Constructing both the three column and two column layout is relatively straight forward. To implement a simple grid layout with iOS, you create a new custom class of type UICollectionView. You can either create your collection view with Interface Builder or programatically in code. Since I opted with the simplest grid solution, just writing the code made sense to me.
FlowLayout is the power of flexiblity behind Collection Views. Some view layouts as the CSS to your HTML of collection cells. This abstract base class can position a cell view in a single row, column or grid. You will notice on the screen shots of WikiBand, each cell has an even height and width. With FlowLayout, you can set the default size of each cell or use a delegate method to set the width and height.
To adjust the spacing between lines of items in the grid, use minimumLineSpacing. If you are scrolling vertically, this value will provide the spacing between successive rows. For scrolling horizontally, this value represents the spacing between succssive columns.
To control the spacing between items in the same row, adjust the value for minimumInteritemSpacing. Beaware that this spacing will be used to compute how many items can fit in a single line.
In order to manipulate the spacing for each cell, instantiate a UICollectionViewFlowLayout object. With that object, you can specify the width of each tile using the itemSize method. Remember, itemSize expects CGSize for each individual UICollectionViewCell. Make sure to use CGSizeMake() to create your structure that packages your width and height values. To define the thickness of your borders, set values for minimumInteritemSpacing and minimumLineSpacing. Below is a gist of some code that demonstrates this in WikiBand.
Once you set the FlowLayout methods (i.e. itemSize, minimumInteritemSpacing, minimumLineSpacing), the UICollectionViewFlowLayout object can be sent to initWithCollectionViewLayout.
The last piece to the grid puzzle is UICollectionViewCell. A cell contains the data or content. For WikiBand, that includes an artist image and artist name. It’s very straight forward to create a customized ViewCell. Just subclass UICollectionViewCell and within initWithFrame set your image view and label. You will notices that the artist name is set at the center of the cell. I took advantage of UILabel’s NSTextAlignmentCenter and adjustsFontSizeToFitWidth make sure that no matter the size of the artist name, it will always fit in one single line without word wrapping. Below is a gist of WikiBand’s source code to demonstrate how the layout was setup.
With the ViewCell, it is important remember to add your content as subviews to the contentView property. Don’t apply subviews to the cell itself.
WikiBand is far from complete. It is an on-going project that I work on during my spare time. It is a hobby project that I hope to have complete by the end of the summer. For now, I’ll just update this blog with some interesting tidbits on the technology that is used to build the app.
Transforming Designs to Real Pixels
Some thoughts on how to transform one of my designs from a mockup into actual code using the iOS platform. The focus for this particular case study is the Visual Format Language and NSAttributedString.